SAML JumpCloud
Jumpcloud
IdP configuration
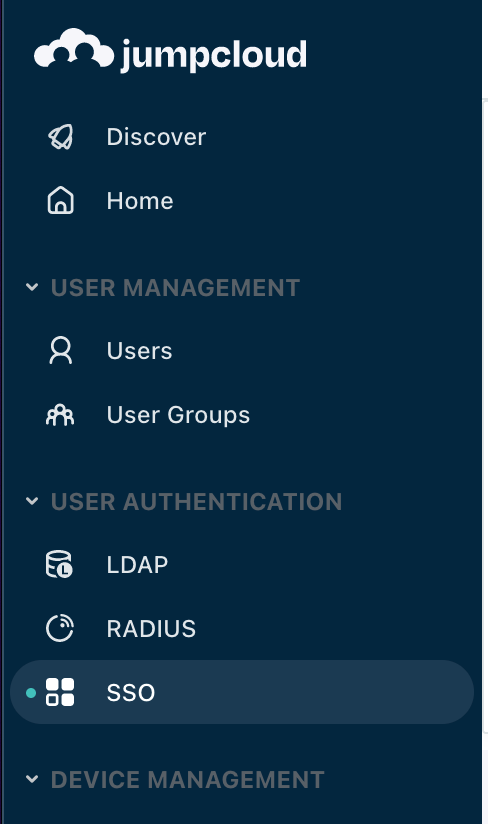
Within your Jumpcloud administrator panel, select SSO under User Authentication...
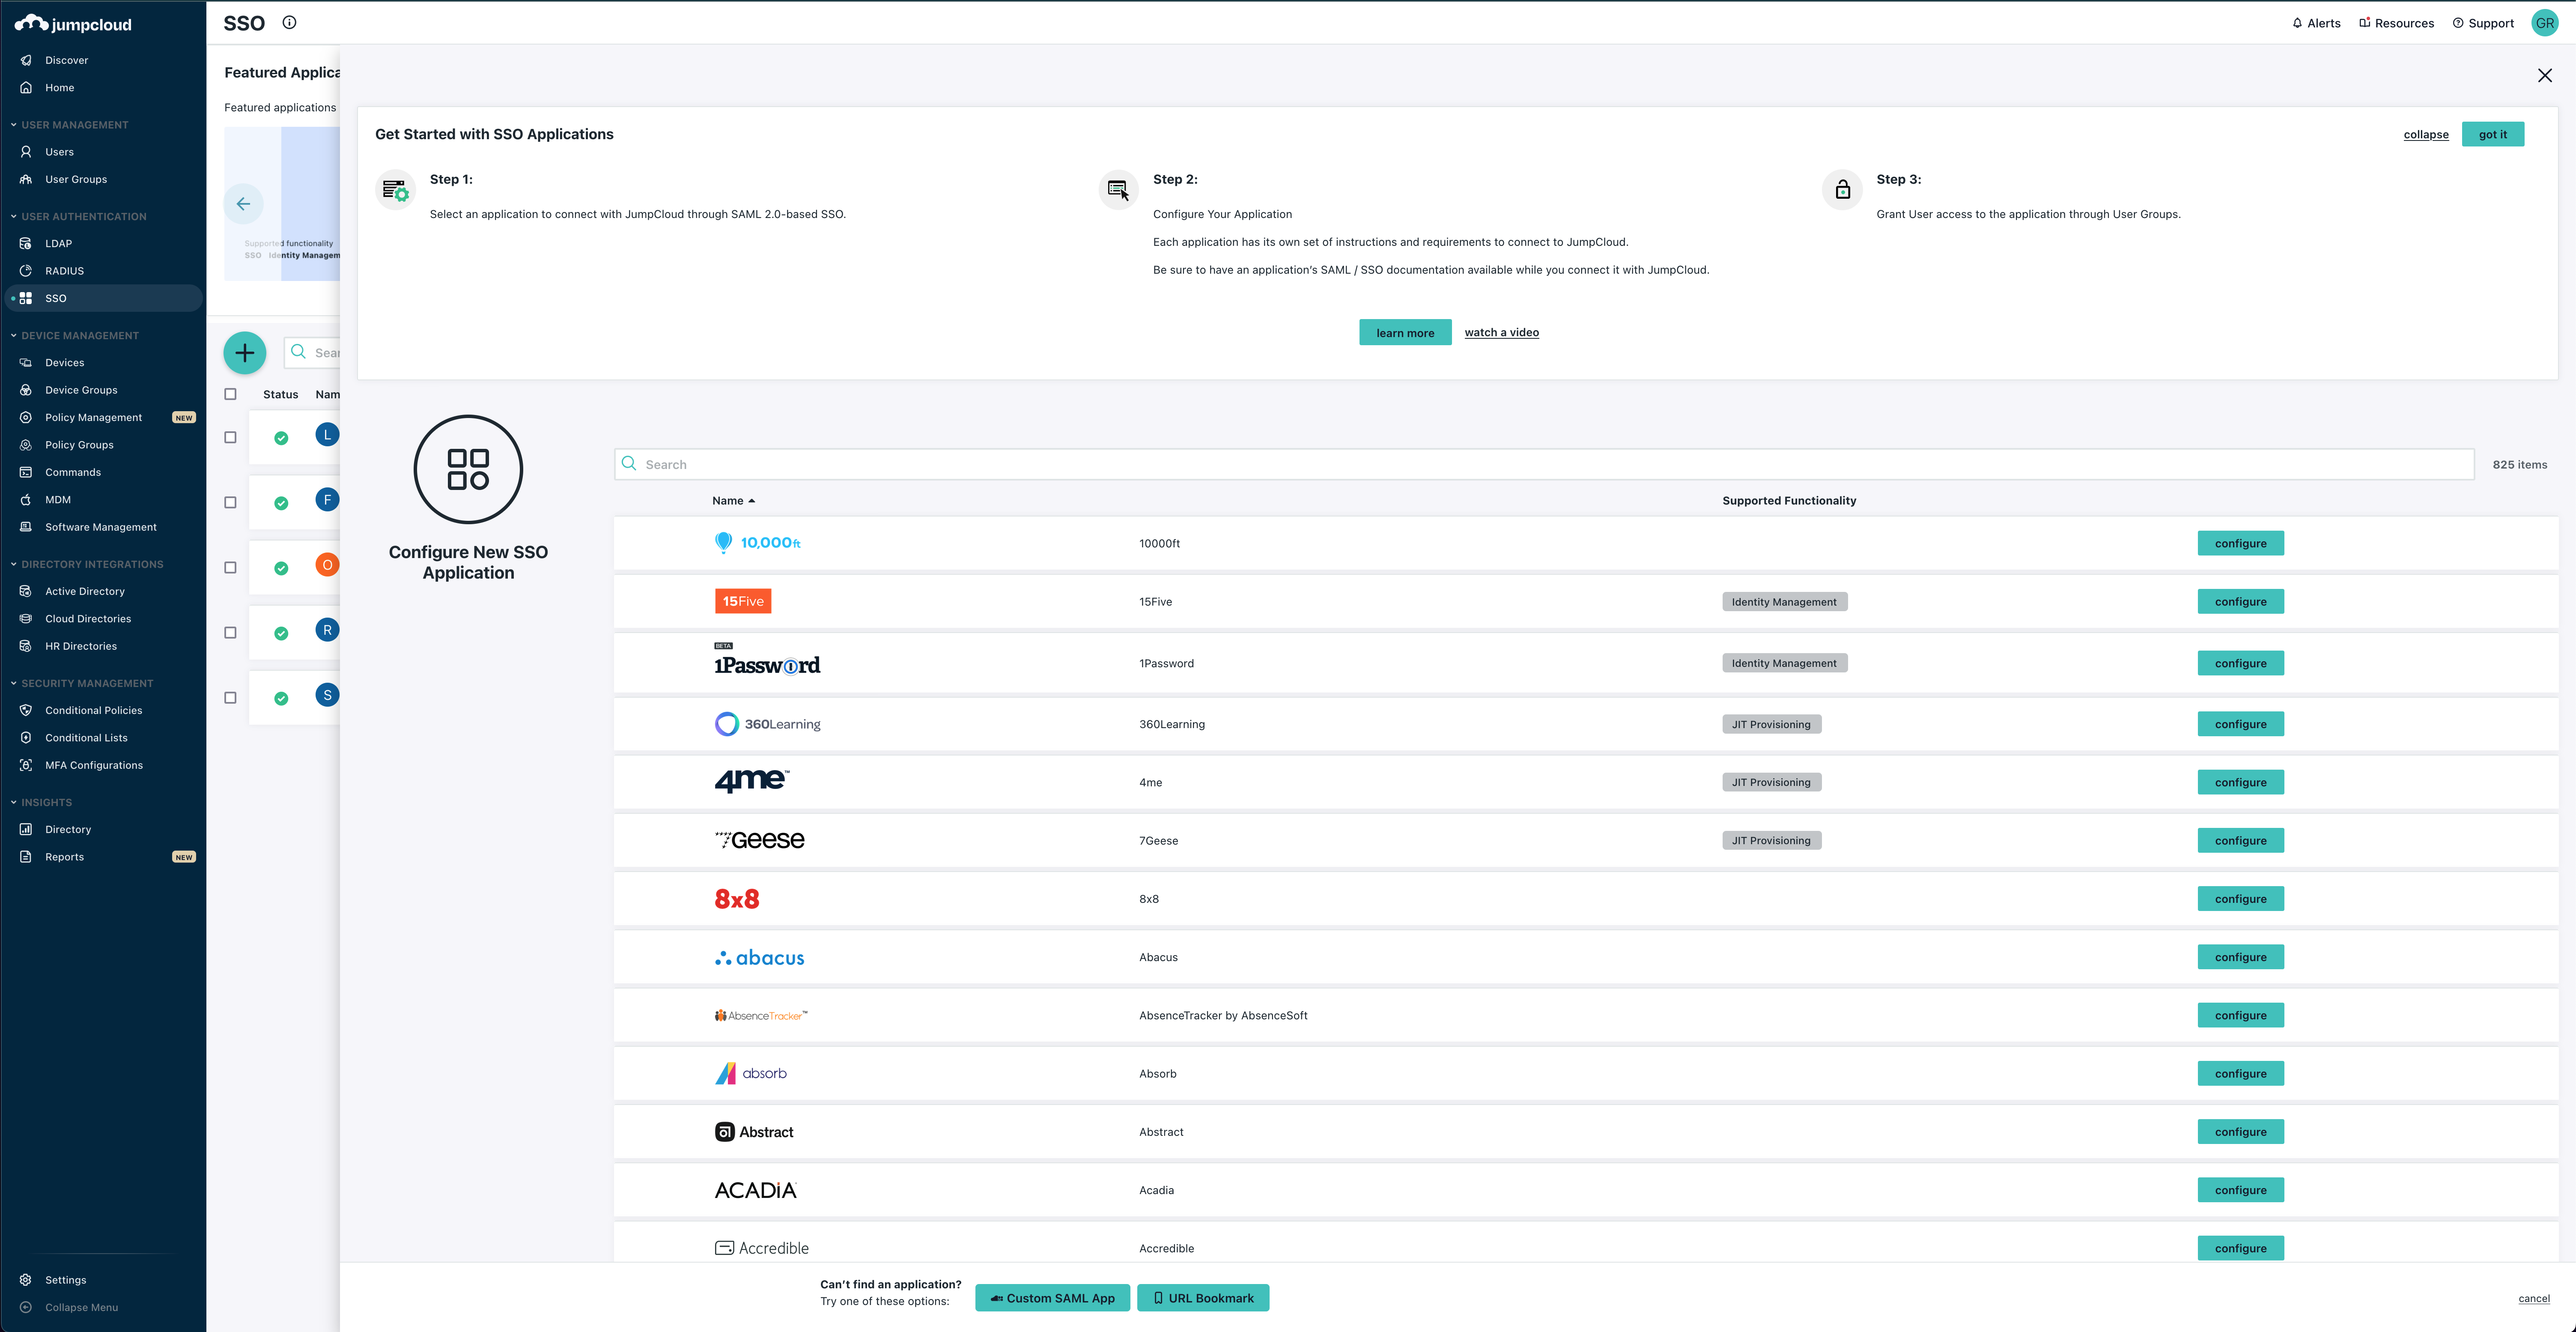
And click the big green + to add a new SAML application.
Since we do not have an out of the box SSO application for Comet, select Custom SAML App at the bottom.
Give your SAML application a descriptive name...
And click the SSO tab.
Set the IdP Entity ID and SP Entity ID to the same values you configured when running cometctl aio update-config for aws_saml_idp_entity_id and aws_saml_sp_entity_id, respectively.
Set the ACS URL to https://<COMET_BASE_DOMAIN>/aws-sso/acs/aws_saml/aws_saml
Further down, make sure to set the IDP URL and add the SAML Parameter mappings by clicking Add Attribute and setting the following:
Service Provider Attribute Name => JumpCloud Attribute Name
name=>usernameemail=>emailguid=>employeeIdentifier
Please note that if the naming does not exactly match in the application then the integration will not work.
Lastly, make sure you download the IdP Certificate as you'll be providing this file to Comet as the value for aws_saml_idp_cert_file.
Since a SAML application isn't very useful without a collection of users allowed to log in, tab over to User Groups and make sure to associate a group of users to the SAML application to allow them to log in.
After you've finished this. Scroll down and hit Save.


