SAML Azure AD
Azure AD SAML
Azure provides comprehensive documentation on how to set up a SAML 2.0 Application. In order to set this up you will need to have two values to populate your custom application with. These are the Custom Login URL and Service Provider ACS URL. For more information on setting a descriptive Service Provider Entity ID click here.
The Service Provider ACS URL must be set to https://<COMET_BASE_DOMAIN>/aws-sso/acs/aws_saml/aws_saml.
- Custom Login URL:
https://comet.example.com/aws-sso/login/aws_saml/aws_saml - Custom ACS URL:
https://comet.example.com/aws-sso/acs/aws_saml/aws_saml
From the Azure Console, navigate to Enterprise Applications and create a new application: 
Then search for and add the Azure AD SAML Toolkit: 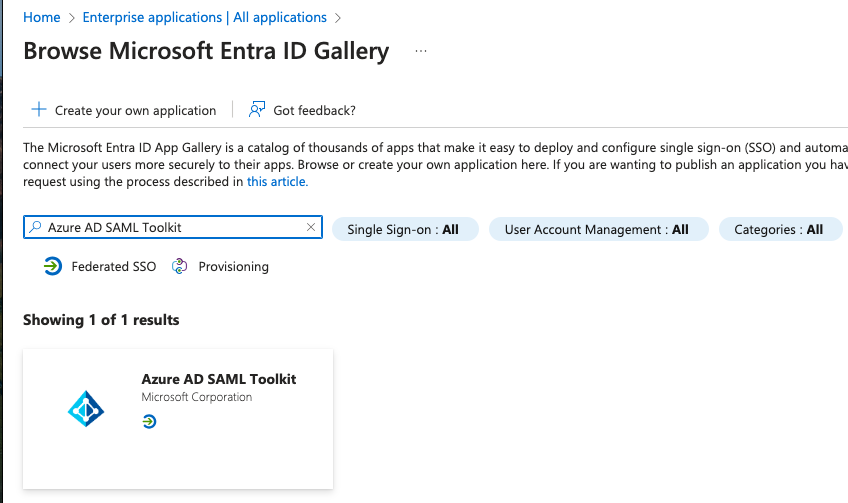
Give your SAML application a descriptive name: 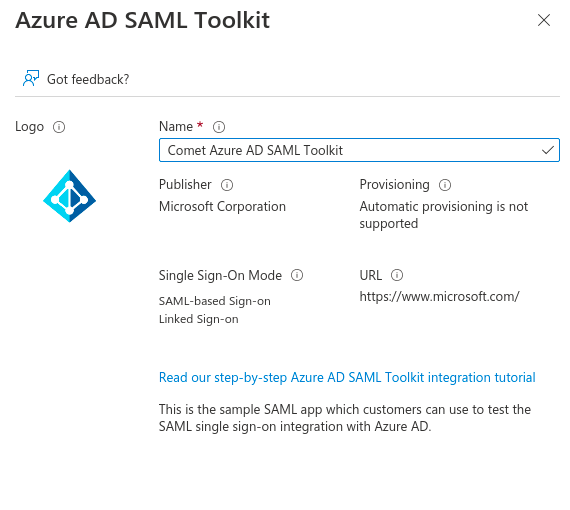
And set the Single Sign On mode to SAML 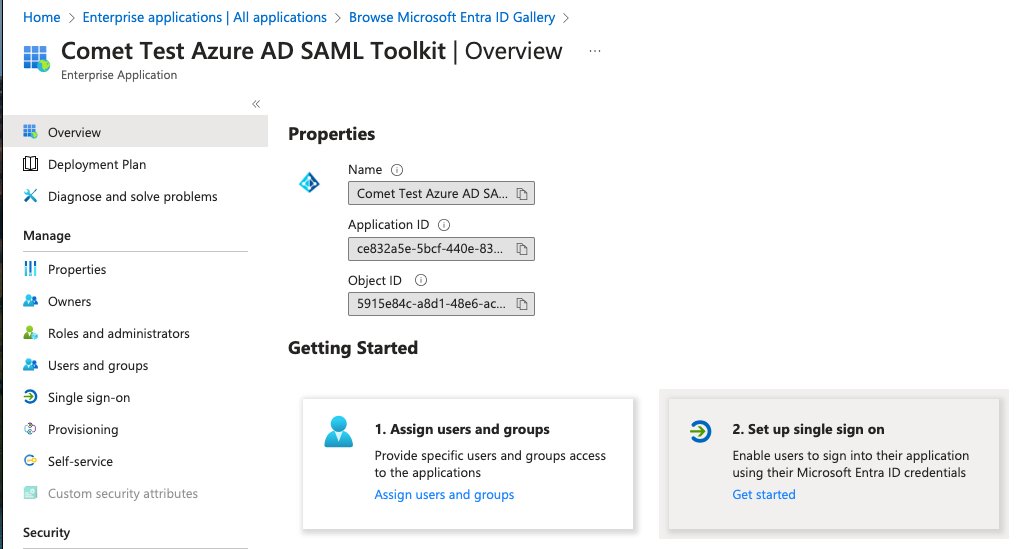
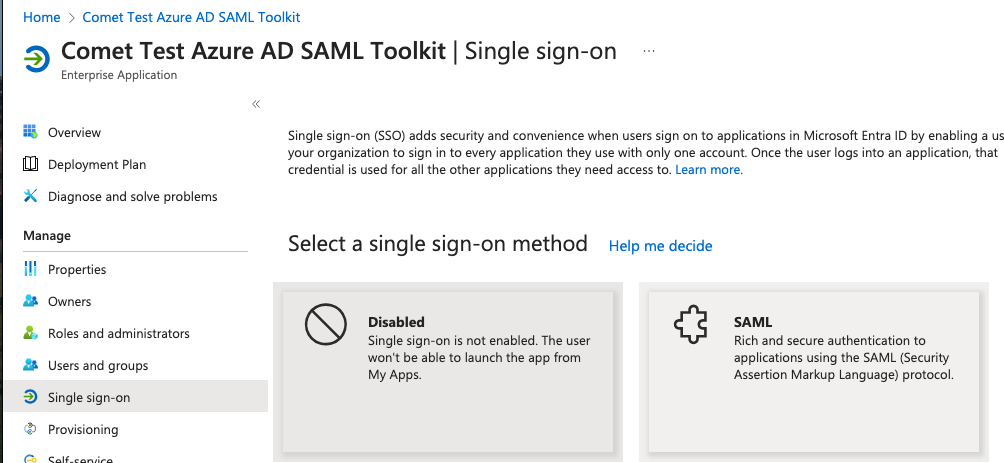
The Single Sign On section will use the Service provider Entity ID and ACS URL from the previous section. 
Click on Edit and set the Identifier (Entity ID) to the value you have set for aws_saml_sp_entity_id, which should be your https://<COMET_BASE_DOMAIN> If there are multiple entity IDs, mark it as default, and delete the default entry https://samltoolkit.azurewebsites.net. 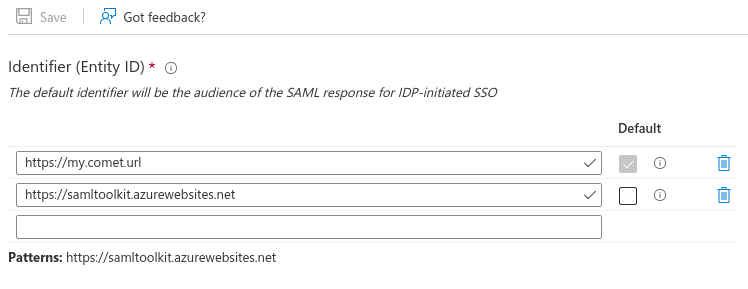
Edit the Reply URL (Assertion Consumer Service URL) and set it to the value you have set for aws_saml_sp_acs_url, which should be https://<COMET_BASE_DOMAIN>/aws-sso/acs/aws_saml/aws_saml Next, edit the Sign On URL and set it to https://<COMET_BASE_DOMAIN>/aws-sso/login/aws_saml/aws_saml 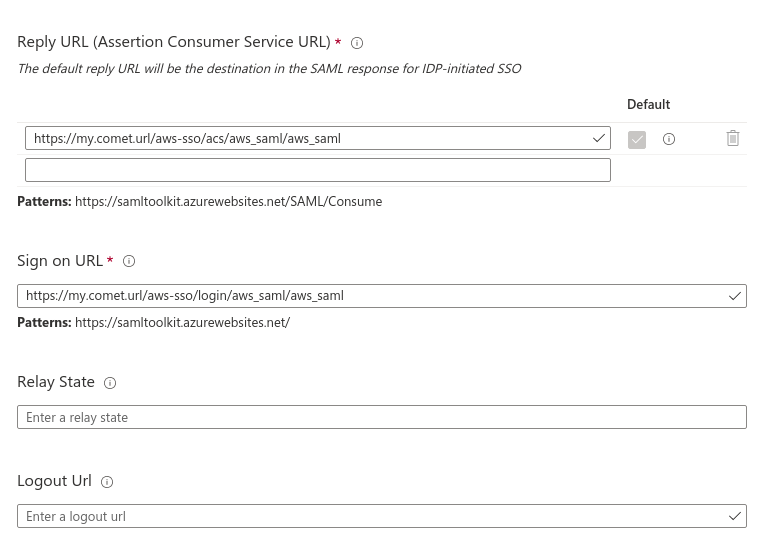
After saving, you'll need to update the Attributes and Claims section. Here's where we'll map the values Comet sends to Azure with the storage Schema that Active Directory uses.
Service Provider Attribute Name => Active Directory Attribute Name
name=>user.userprincipalnameemail=>user.mailguid=>user.objectid
The “Assigned Users” Section is where you can select which users / groups will have access to the applcation.
Note that Azure permissions are binary. A user either has access or does not. Azure will not honor any more granular permissions.
Post-Setup
Once the IdP has been configured you can complete the comet configuration by setting the aws_saml_idp_entity_id, aws_saml_idp_sso_url and saml_idp_cert_file variables. Set the Entity ID to the value found in the following field: 
Set the IdP SSO URL to the value found in the following field: 
You will also need to download the certificate to provide for the saml_idp_cert_file value. 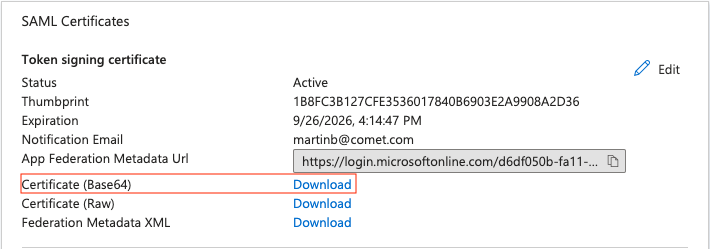 You can copy the file directly, or paste the contents including the header and footer to the file to be used.
Once complete follow all instructions in the application configuration.
Test the login process
Azure allows you to quickly validate whether your configuration is correct by providing a login test 
Click on Test sign in using a current user. Provided your current user is allowed to access comet you should be redirected to the application and logged in as your currently logged in Azure AD User. 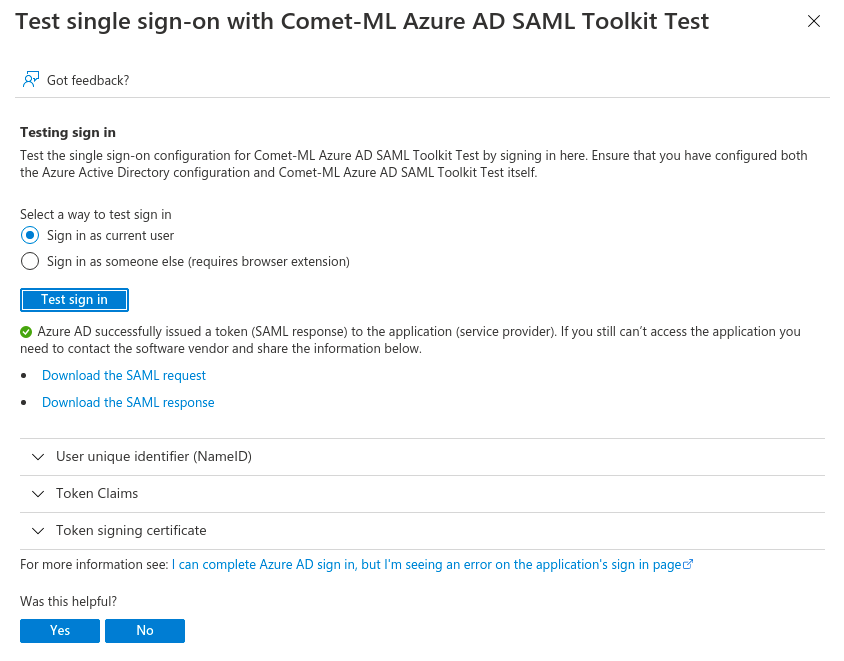
If you still can’t access the application, double check the application variables.
